

Available on the Enterprise plan. Contact sales to learn more.
How access works
When you create a project, you automatically become its admin. Only you and organization admins can access it initially. To share with your team, either:- Share with specific users or groups (recommended for controlled access)
- Grant access to everyone in the organization
Managing groups
Create a group
- Go to Settings → Members → Groups
- Click New Group
- Enter a name and optional description
- Optionally add members during creation
- Click Create

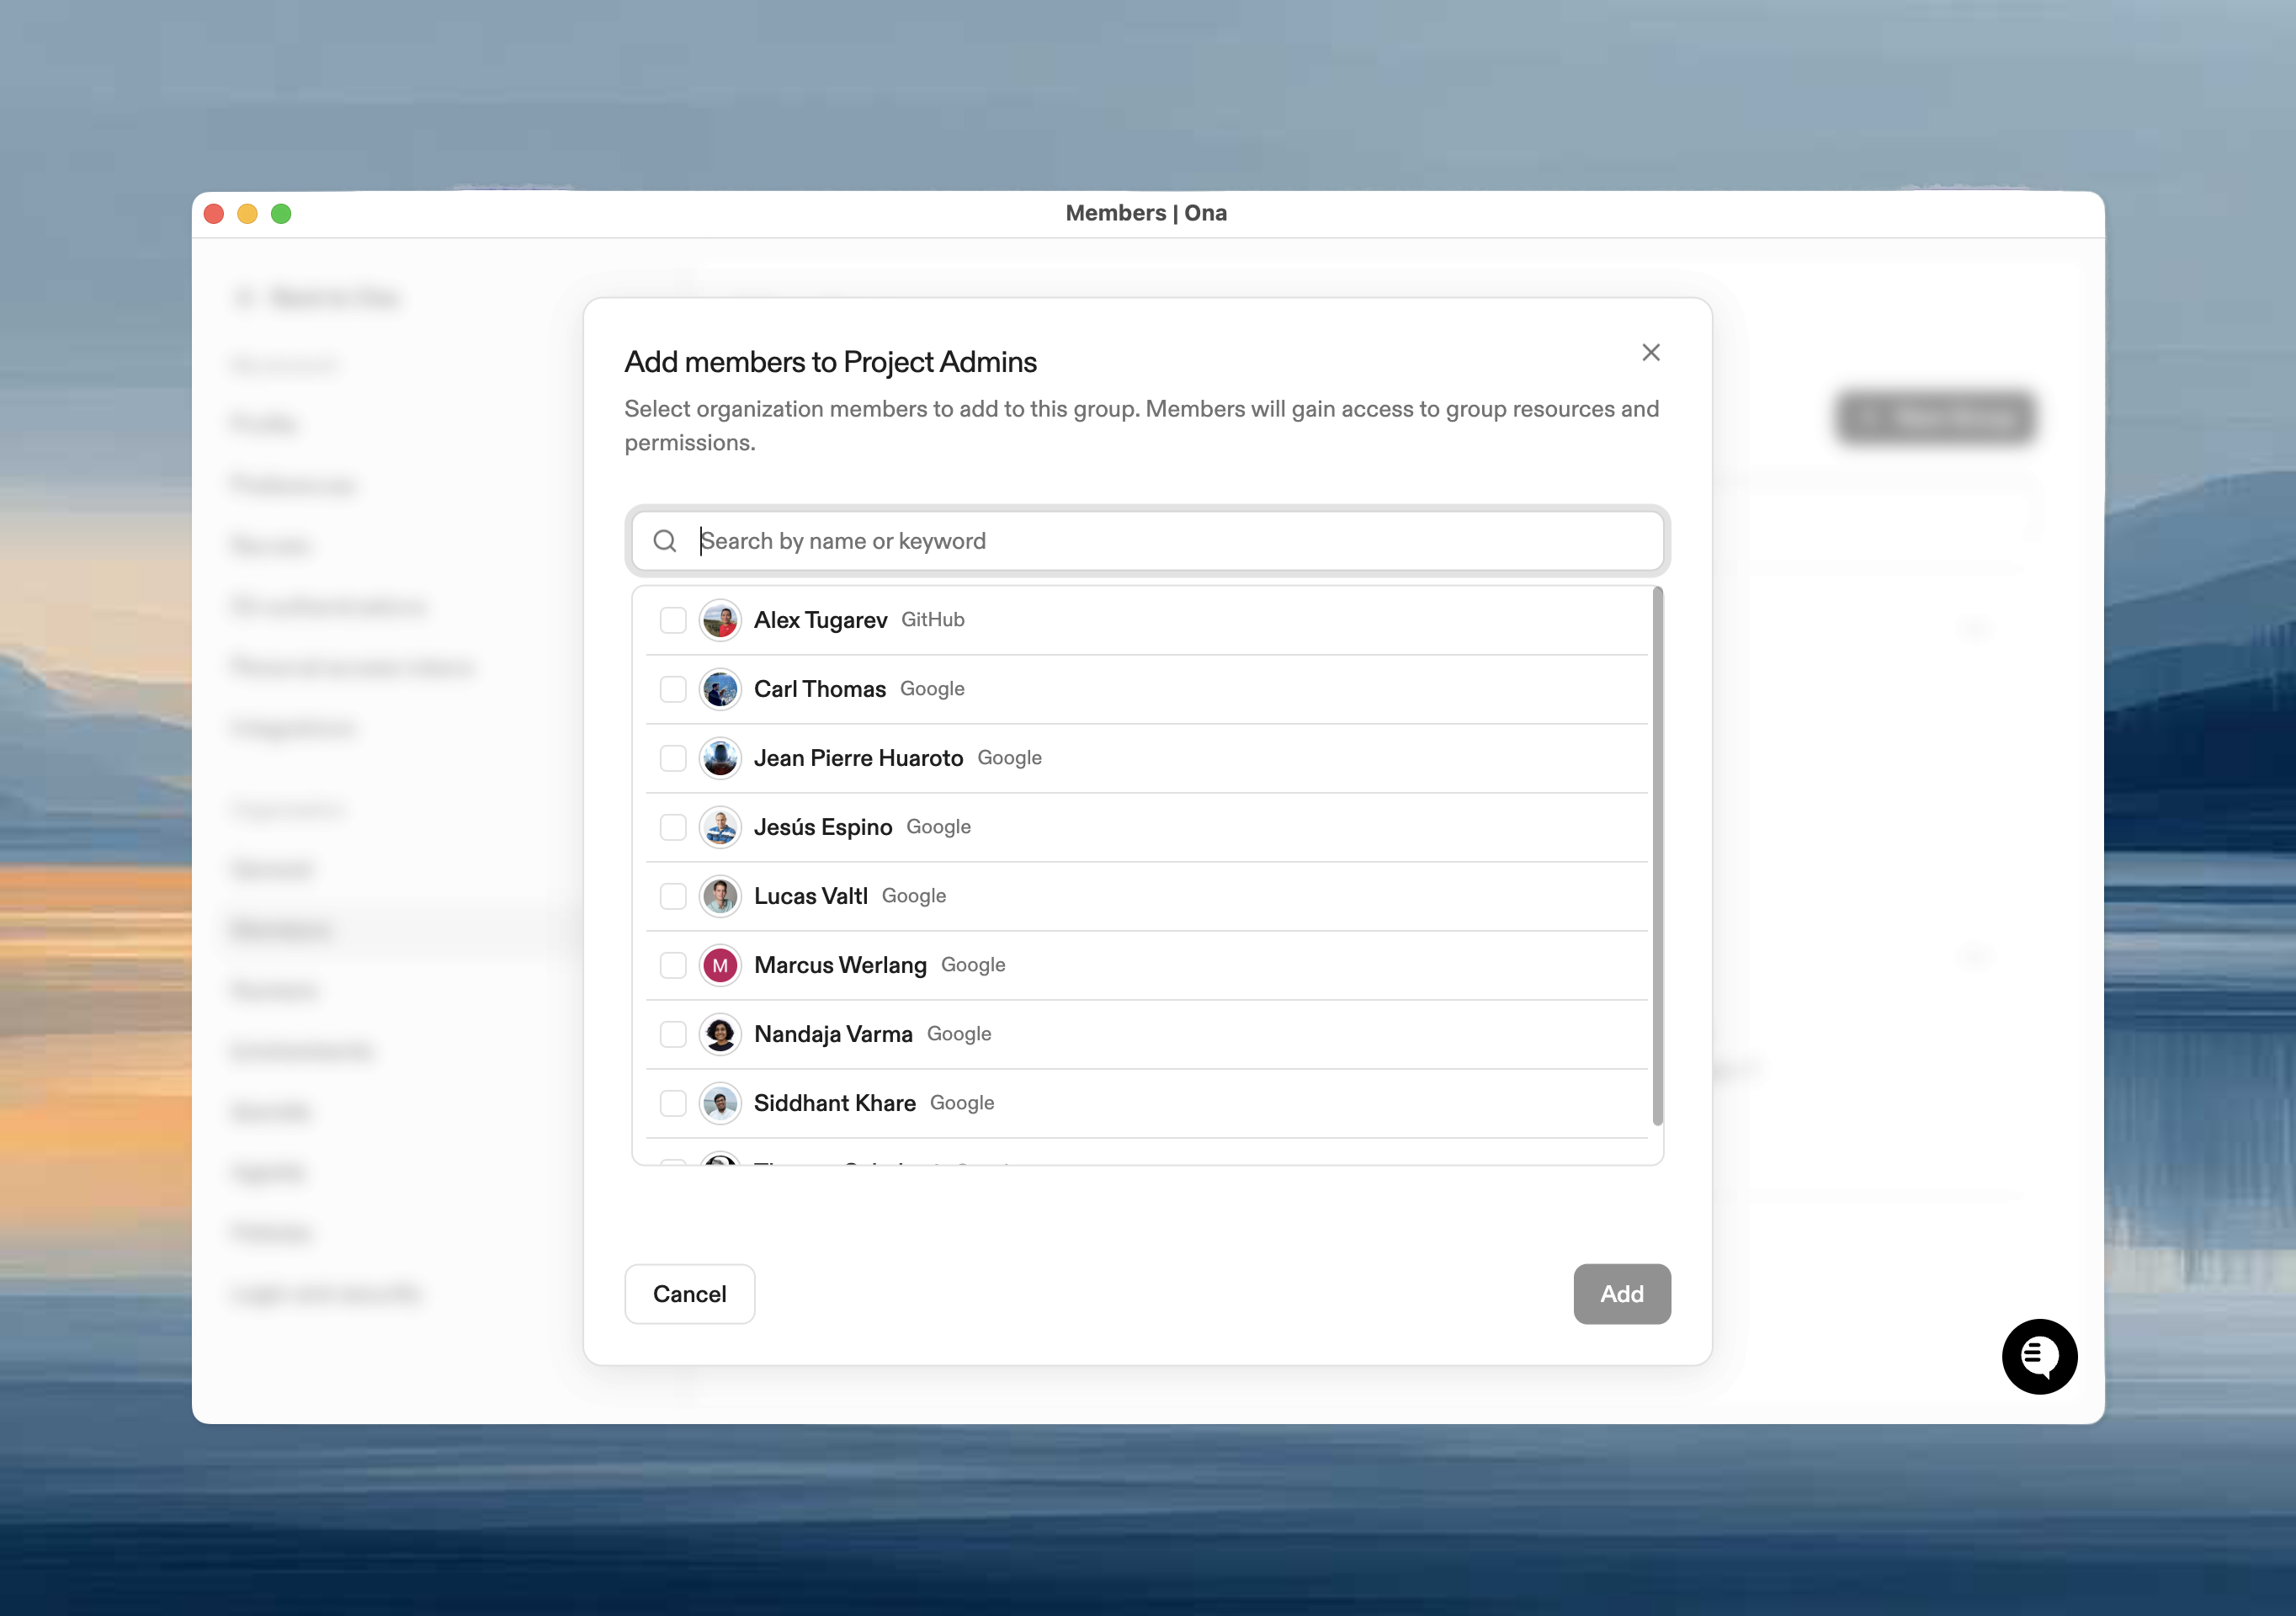
Add members
- Click on the group
- Click Add People
- Select members and click Add
Remove members
- Open the group
- Select members using checkboxes
- Click Remove

Delete a group
- Open the group
- Click ⋯ → Delete
- Confirm
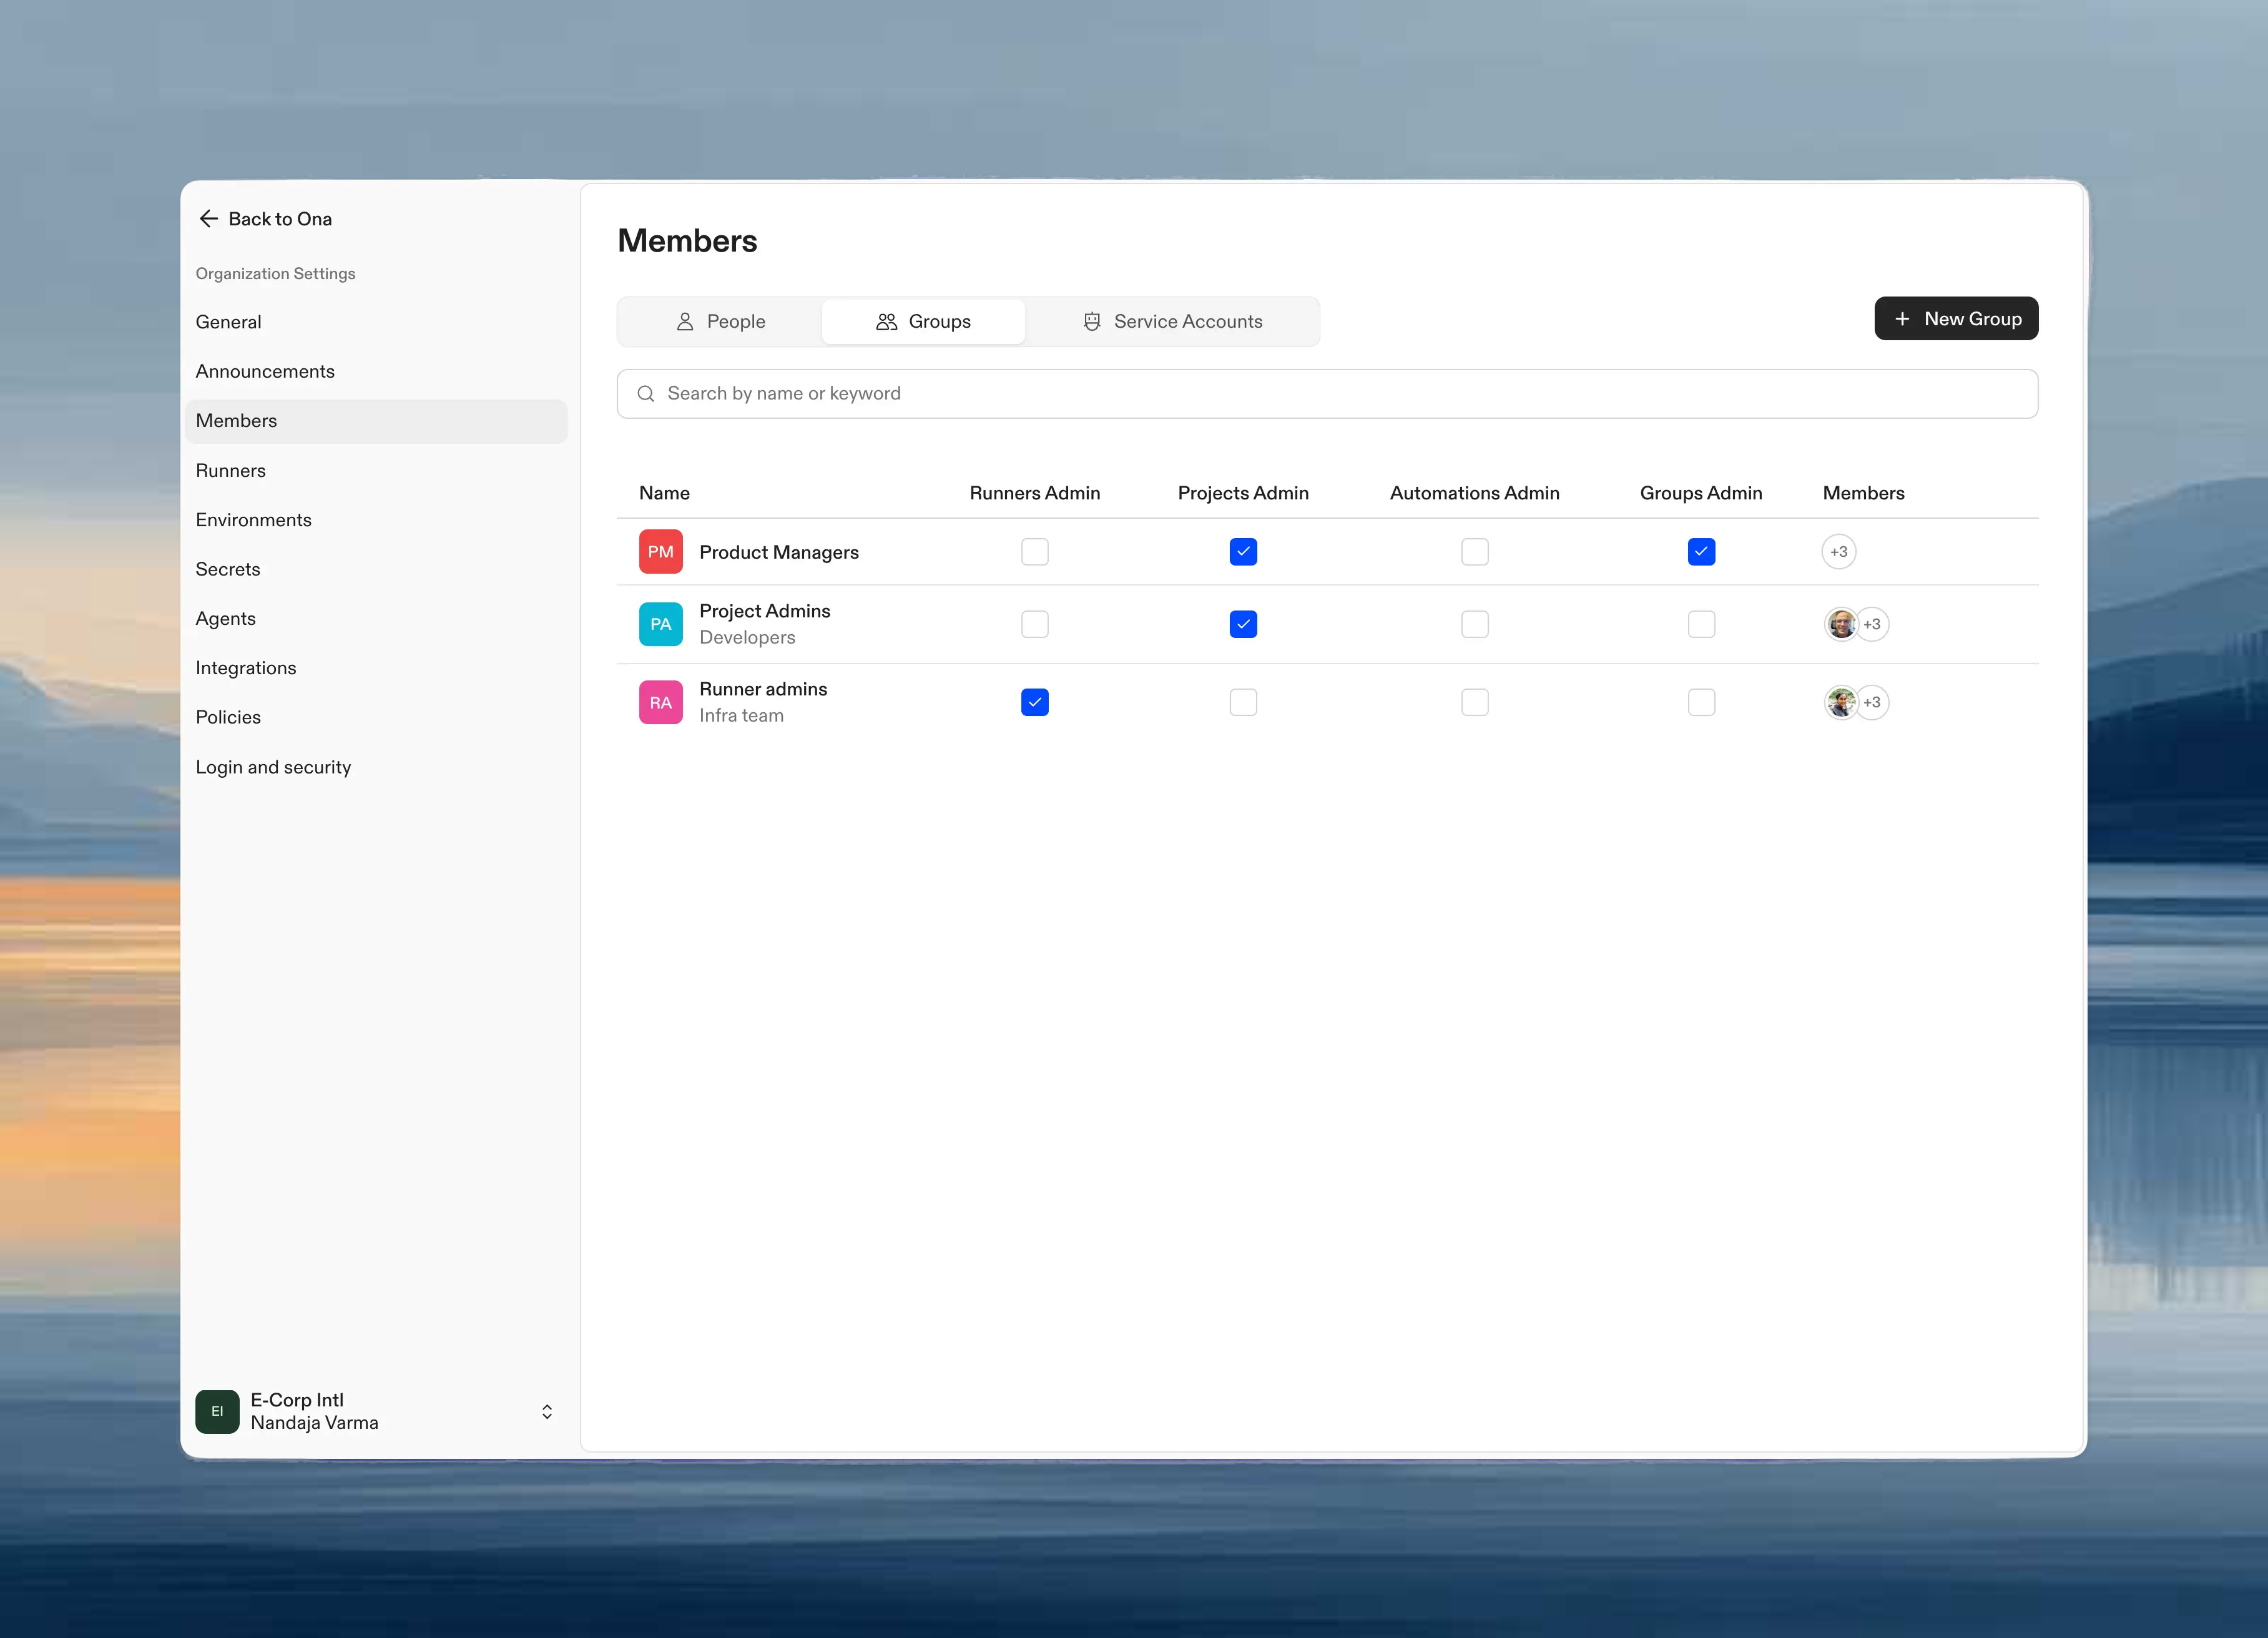
Organization roles
Groups can be assigned organization-wide roles, giving all members role-specific access to resources across the entire organization.
To assign organization roles to a group, see Assign an organization role.
For detailed permissions and use cases, see Organization roles.
Roles and Permissions
The roles below apply to individual resources (projects, runners, automations) and are distinct from the organization-wide roles described above. When you assign a role to a user or group on a resource, they receive the permissions associated with that role. For groups, all members receive the assigned permissions.Project Roles
The following table outlines the specific permissions for each role on projects:Editors can delete projects. Grant Editor access only to trusted team members who need full management capabilities.
Runner Roles
The following table outlines the specific permissions for each role on runners:Automation Roles
Automations can be shared with individual users or groups using the Executor role. See Sharing Automations for details.Organization admins have full access to all automations, including the ability to create, edit, delete, share, and view all executions.
Permission Inheritance
- Direct and group access: When a user has both direct access and group-based access to a resource, they receive the union of all permissions. The highest permission level applies.
- Multiple groups: When a user belongs to multiple groups with access to the same resource, they receive the union of all permissions from those groups.
- Organization admins: All org admins automatically have Admin permissions on all projects, runners, and automations, regardless of direct or group-based access.
- Resource creators: Project creators automatically become project admins and can share their projects with other users and groups.
Best Practices
Organize Groups by Function
Create groups that reflect how your team works:- By team: “Frontend Team,” “Backend Team,” “DevOps”
- By role: “Developers,” “Designers,” “Product Managers”
- By project: “Mobile App Team,” “API Team”
Use Descriptive Names and Descriptions
Help others understand what each group is for:- “Backend Engineers - API and Database Development”
- “Group 1”
Start with Restrictive Access
Begin by sharing resources with specific users or groups. You can always expand access later:- Share with individual users for small teams or specific collaborators
- Create groups for larger teams with similar access needs
- Share resources with relevant users and groups
- Adjust permissions based on feedback
- Expand to organization-wide access if needed
Review Access Regularly
Periodically review who has access to your resources:- Check group memberships when people change roles
- Remove access for team members who no longer need it
- Update permission levels as responsibilities change
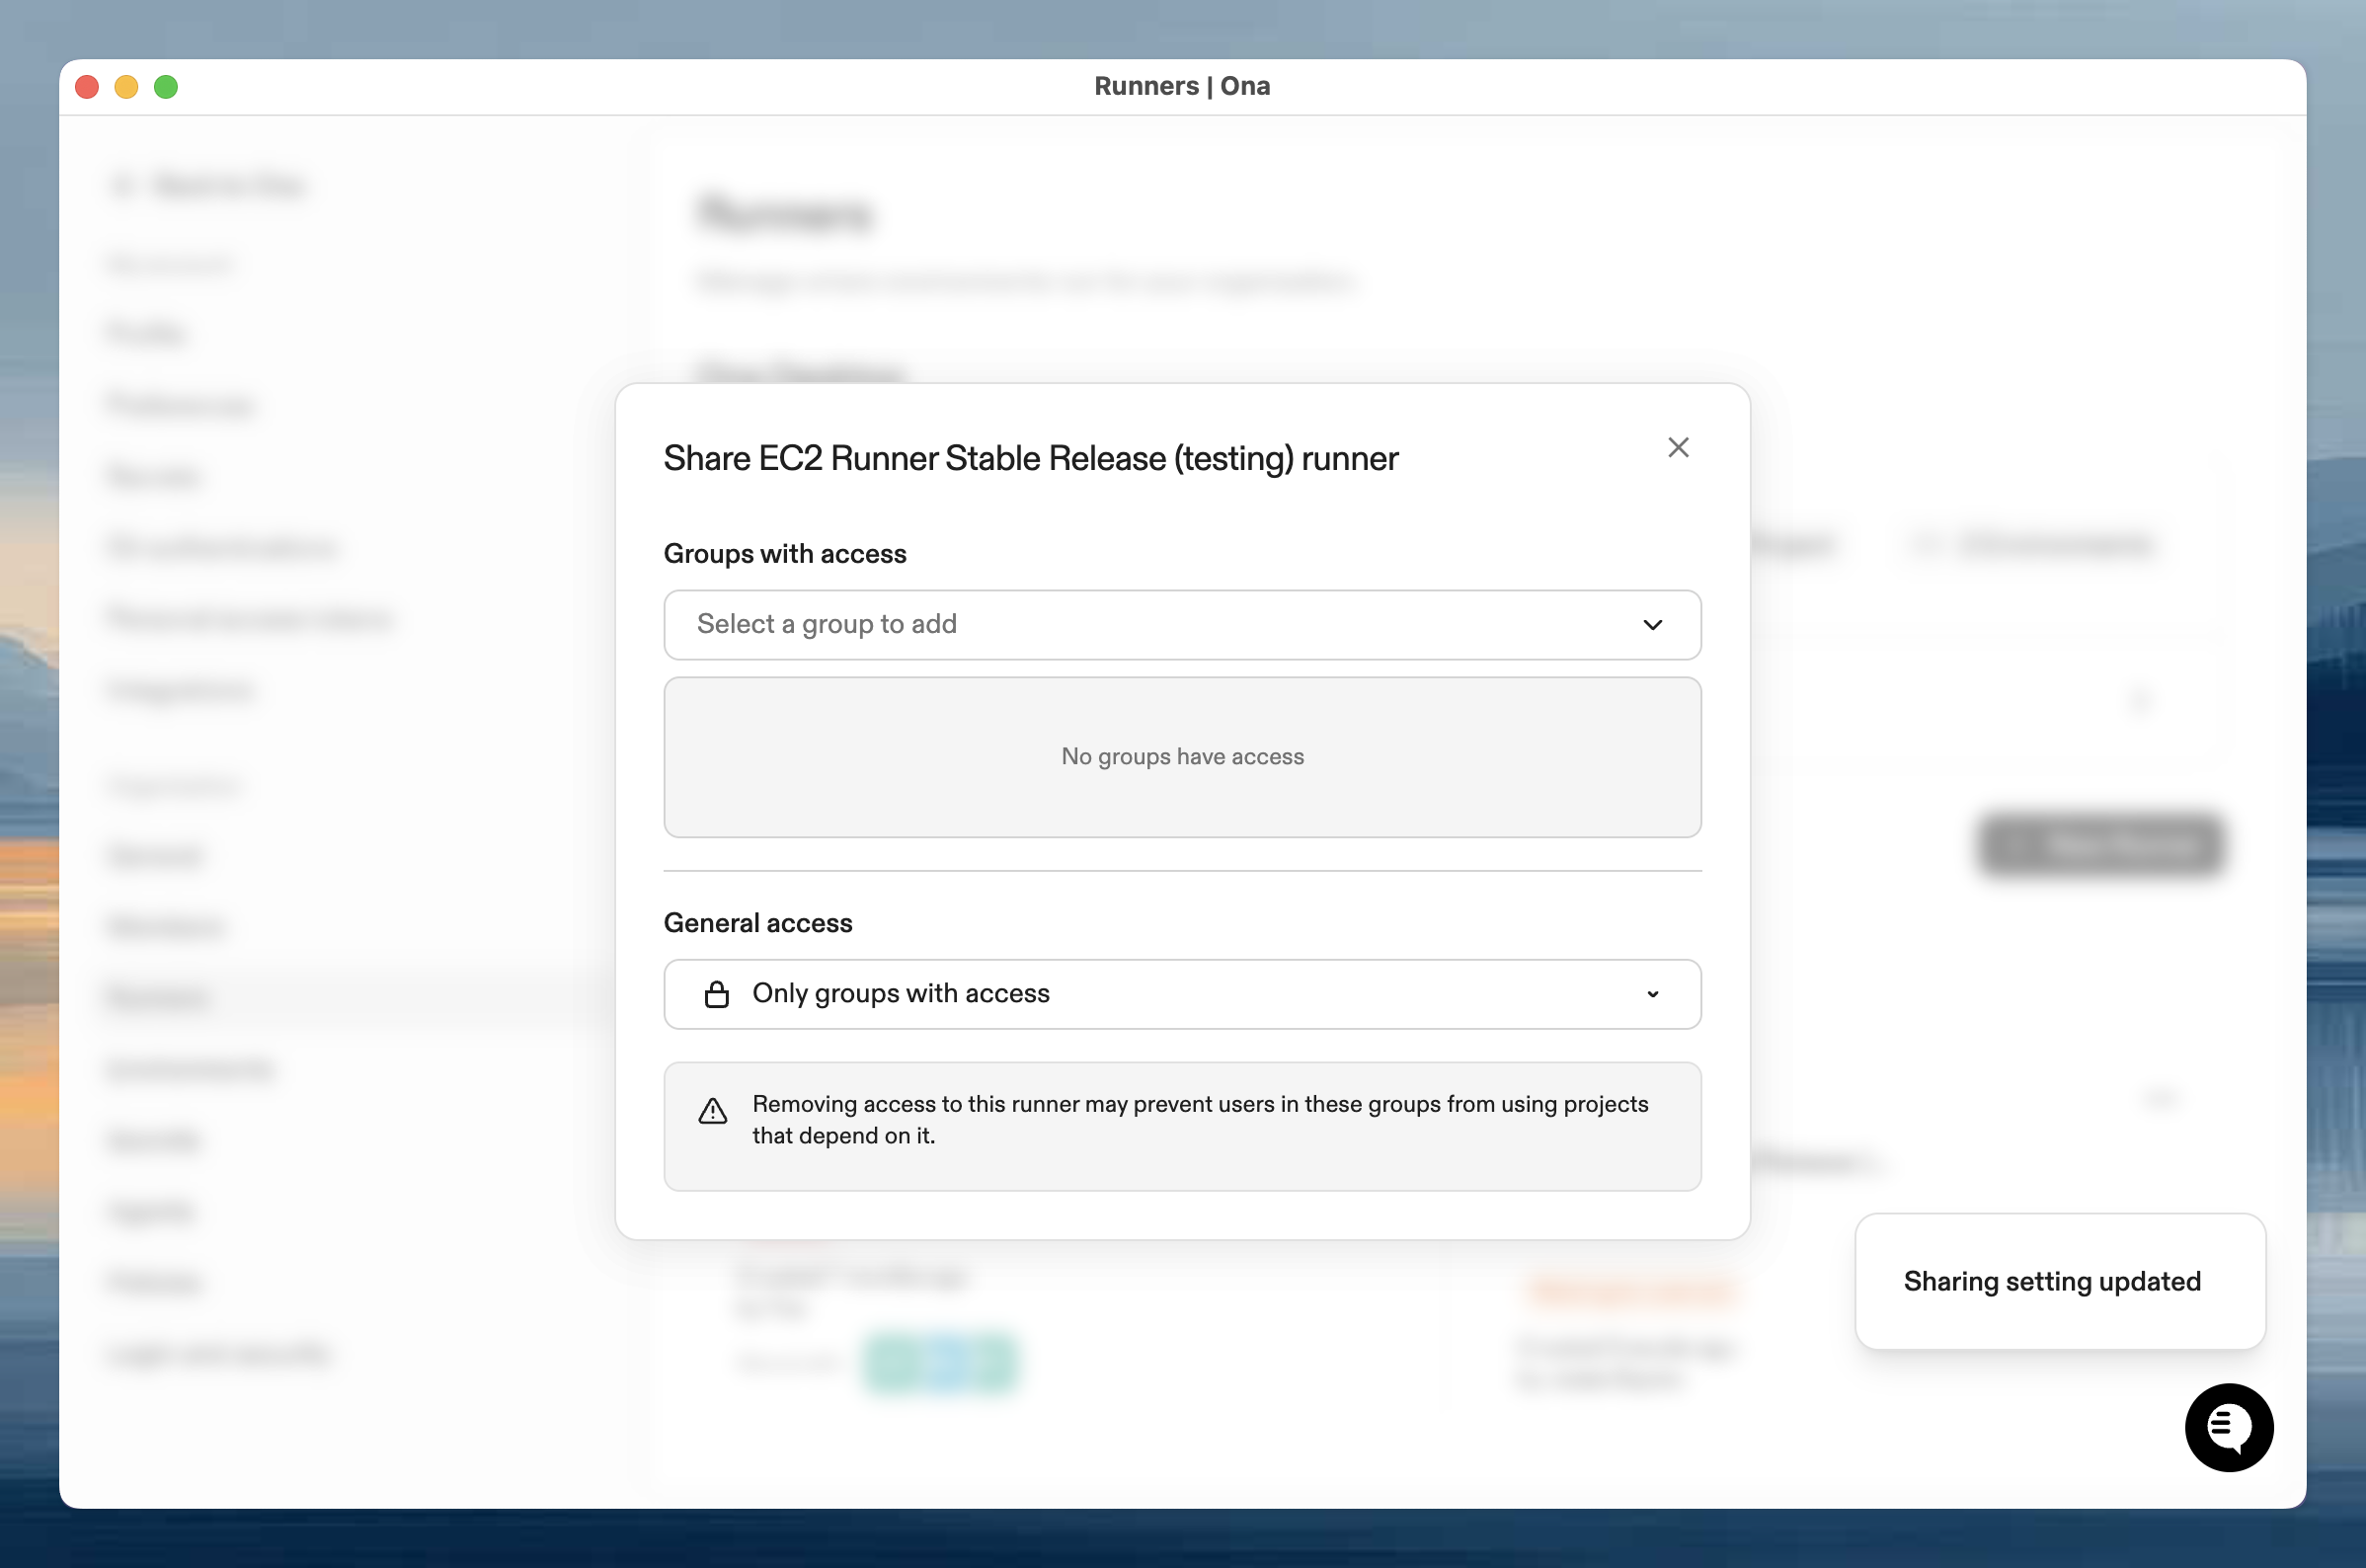
Consider Runner Dependencies
Before restricting runner access:- Identify which projects use the runner
- Ensure all project users also have runner access
- Communicate changes to affected teams
Use the Right Permission Level
Grant the minimum permissions needed:- Most team members need User access
- Team leads or maintainers need Editor access
- Only a few people need Admin access
FAQ
Can someone be in multiple groups?
Can someone be in multiple groups?
Yes, team members can belong to multiple groups. They’ll receive the combined permissions from all their groups. If someone has User access through one group and Admin access through another, they effectively have Admin access.
What happens when I delete a group?
What happens when I delete a group?
All members lose access to resources that were shared exclusively with that group. Resources shared with other groups or with everyone in the organization remain accessible. The group deletion is permanent and cannot be undone.
I can see a project but can't create environments. Why?
I can see a project but can't create environments. Why?
This usually means you have access to the project but not to any of the runners it uses. Contact your organization admin to request runner access.
I added someone to a group but they still can't access a resource. What should I check?
I added someone to a group but they still can't access a resource. What should I check?
Verify that the resource is shared with the group, the person has runner access if needed, they’ve refreshed their browser, and check for any error messages.
I removed someone from a group but they still have access. Why?
I removed someone from a group but they still have access. Why?
They might have direct user access, be in another group with access, be included in “Everyone in Organization” access, or be an organization administrator.
I can't create or edit groups. What do I need?
I can't create or edit groups. What do I need?
Creating and managing groups requires organization admin permissions. Contact your organization admin if you need to manage groups.
After sharing a runner, team members still can't use a project. What's wrong?
After sharing a runner, team members still can't use a project. What's wrong?
Verify the project uses that runner, team members have project access, they’re in the shared group, and no policies are blocking access.
Can I see who has access to a resource?
Can I see who has access to a resource?
Yes, open the Share dialog for any resource to see which users and groups have access and their permission levels. You can view groups to see their members.
What happens if I delete a runner that projects depend on?
What happens if I delete a runner that projects depend on?
Projects configured to use that runner will no longer be able to create environments using that runner’s environment classes. If the project has other environment classes from different runners, those will still work. If it was the only runner, the project becomes unusable until you configure it with a new runner.