

Prerequisites
Before you start:- An Ona account on a Core or Enterprise plan
- At least one runner in your organization
- A repository with code you want to automate against
Step 1: Create a project
A project connects your repository to a runner. It is the blueprint for every environment and every Automation run. If you already have a project for your repository, skip to Step 2. Follow the Create your first project guide to set one up. You need a repository URL, a project name, and at least one environment class.Step 2: Make your repository AI-ready
For Automations to work reliably, the environment must be reproducible. Every Automation run starts a fresh environment from your configuration. If the environment does not have your tools, dependencies, and services, the Automation cannot reliably clone, build, test, and iterate. Two files make your repository AI-ready:devcontainer.json
Defines the base image, language runtimes, tools, and VS Code extensions. Place it at.devcontainer/devcontainer.json in your repository.
Minimal example:
automations.yaml
Defines startup tasks (install dependencies, seed databases) and long-running services (databases, servers). Place it at.devcontainer/automations.yaml in your repository.
Minimal example:
Shortcut: use an Automation to generate your environment config
Bootstrap both files by creating an Automation with a single Prompt step. Create a new Automation, add one Prompt step with the following text, select your project, and run it. The Automation analyzes your repository and generatesdevcontainer.json and automations.yaml.
Verify your environment
Start an environment from your project. Run your test suite. If everything passes interactively, it will work for Automations.Step 3: (Optional) Configure integrations
Integrations give Automations context from external tools. For example, the Sentry integration lets Automations read error data, and the Linear integration lets them read and update issues. Configure integrations in Settings > Integrations. See the setup guides for Sentry, Linear, Notion, Granola, and Atlassian.Step 4: (Optional, Enterprise) Create a service account
If you plan to run Automations on a schedule or share them with your team, create a service account. Commits, PRs, and comments will appear under the service account identity instead of your personal account. Service account executors require an Enterprise plan.Step 5: Create your first Automation
- Go to Automations in Ona.
- Click New and choose Start from scratch or pick a template from the suggestions panel.

Name and description
To set or change the name and description, open the ⋯ menu and select Rename. A dialog opens where you can edit both fields.Set the executor
The Run Automation as field is in the trigger configuration panel. Click the trigger node to open the side panel — the executor selector is at the bottom.- Your user: Automations run under your identity. Commits and PRs appear as you.
- Service account (Enterprise only): Automations run under a shared service account identity.
Service account executors are an Enterprise feature. On Core plans, Automations run as your user.
Add steps
Steps run in sequence. Example for a dependency update Automation: Step 1: Prompt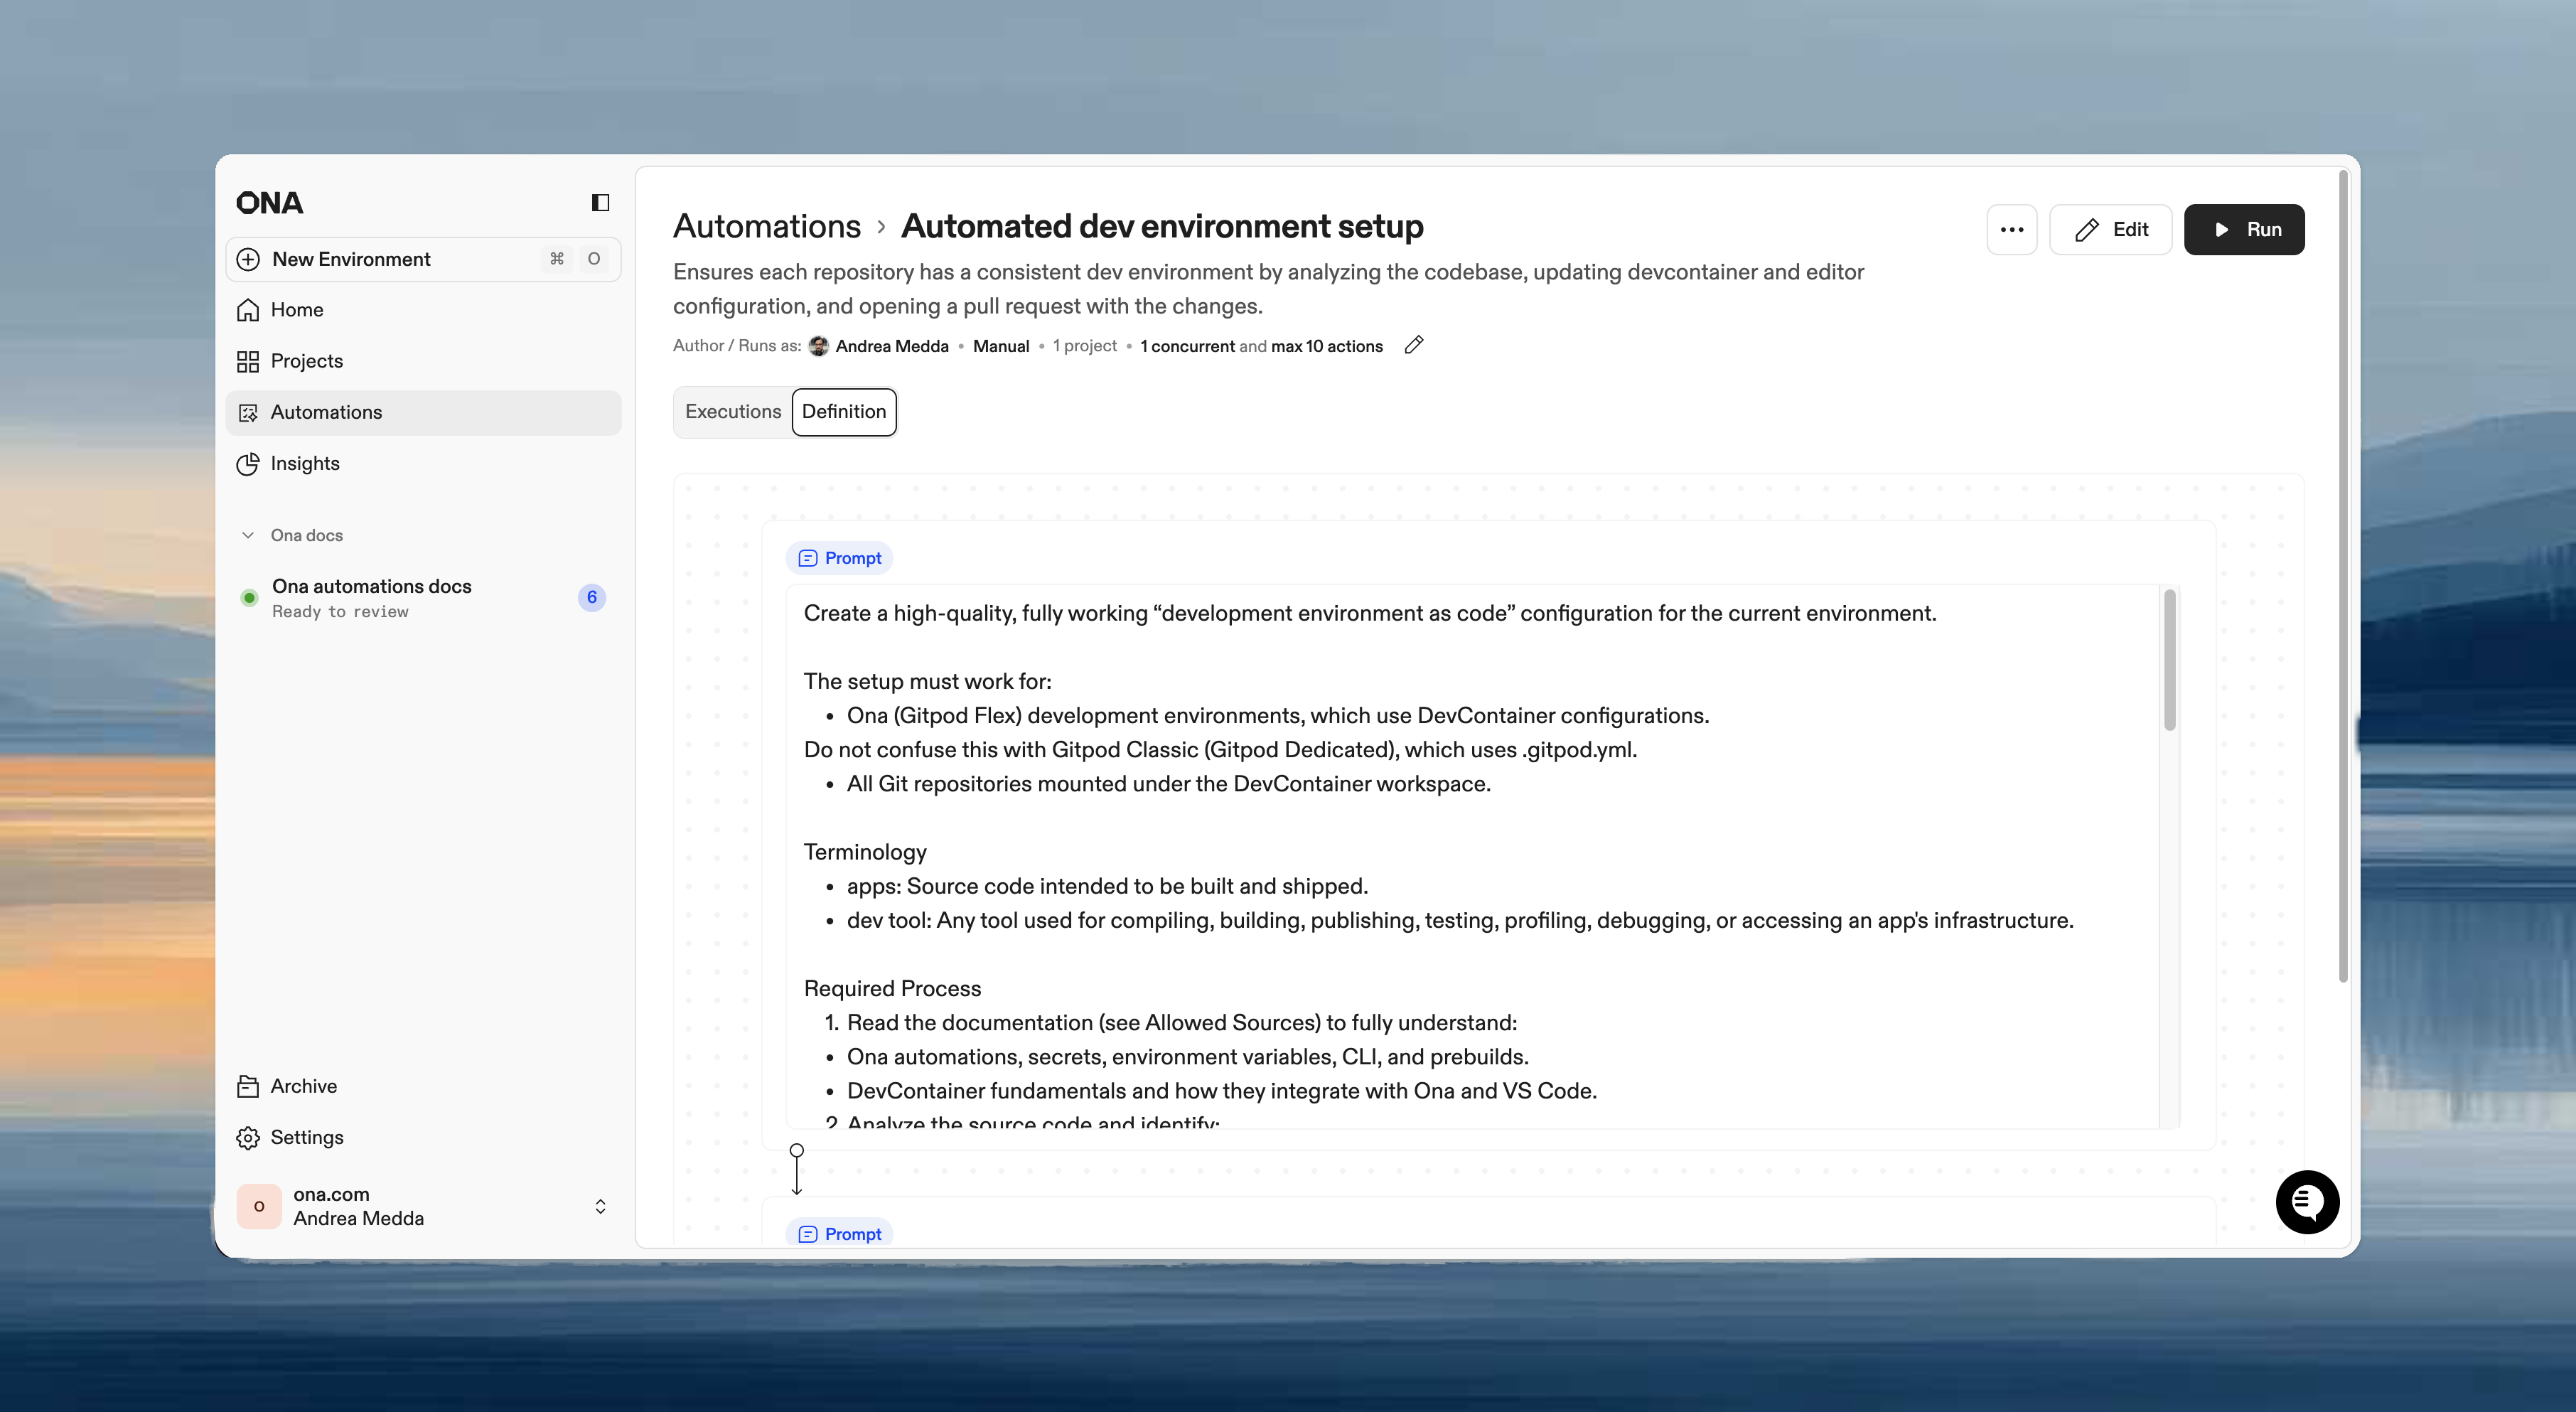
Set guardrails
Guardrails prevent runaway executions:- Max concurrent: 5 (for testing)
- Max total: 20
Choose a trigger
For your first run, select Manual to test immediately.
Click Save to create the Automation.
Step 6: Run manually and verify
- Open the Automation.
- Select target repositories.
- Click Run.
Step 7: Schedule it
Once you trust the output, switch the trigger to Scheduled:- Open the Automation settings.
- Change the trigger to Scheduled.
- Select Every weekday and set the time, for example 9:00 AM UTC for weekday mornings. Choose Every day instead if the Automation should also run on weekends.
- Save.
What’s next
- Automations in practice for real-world examples
- Configure Automations for the full settings reference
- Pull request triggers for Automations that run on PR events
- Time-based triggers for scheduling options
- Guardrails for safety controls
- Service accounts for team-wide Automations